And how to not mess it up. I had always wanted to wear a bircage veil for my wedding, but when I saw the cost of some of them I was blown away! I searched on etsy and found a few cheap ones but then I saw a tutorial on how to make one. I thought, easy enough, right? Eh....sort of. I should have chosen an earlier time to finish this but I finally got it finished 3 days before the wedding. Here goes the story......if you wanna read it move to the next paragraph, if not skip ahead to the pictures......
I went to JoAnns with mom and ended up buying some tulle, which is what I thought I needed for this project....silly me for not reading instructions first. About 2 weeks before the wedding I decide to really look at what I've gotten myself into and immeditaley realize that I have the wrong material!! Instead of freaking out at the first sign of something being wrong, like usual, I kept it cool and decided to see where I could find some French/Russian Netting. It is nowhere to be found in any stores!! You have to order the stuff online and, luckily, it's available on etsy. I found a wonderful seller,
EmmieE who sells lots of different kinds of netting, and bought 1 yard of 18 inch French/Russian netting for $6 + $1.25 S&H. I received it a few days later a almost forgot about it I had so much going on! I ended up following
this online tutorial, but made some adjustments of my own and failed :( I will explain after the pictures.
 |
| 1 yard of 18 inch French/Russian Netting and the other necessary supplies: scissors, needle, thread, 1 haircomb, and ribbon (not shown). |
 |
| After cutting to ensure there were no big 'lumps' in the netting once it was placed around my face. |
 |
| Begining the 'netting' process |
 |
| Before pulling it all together. |
 |
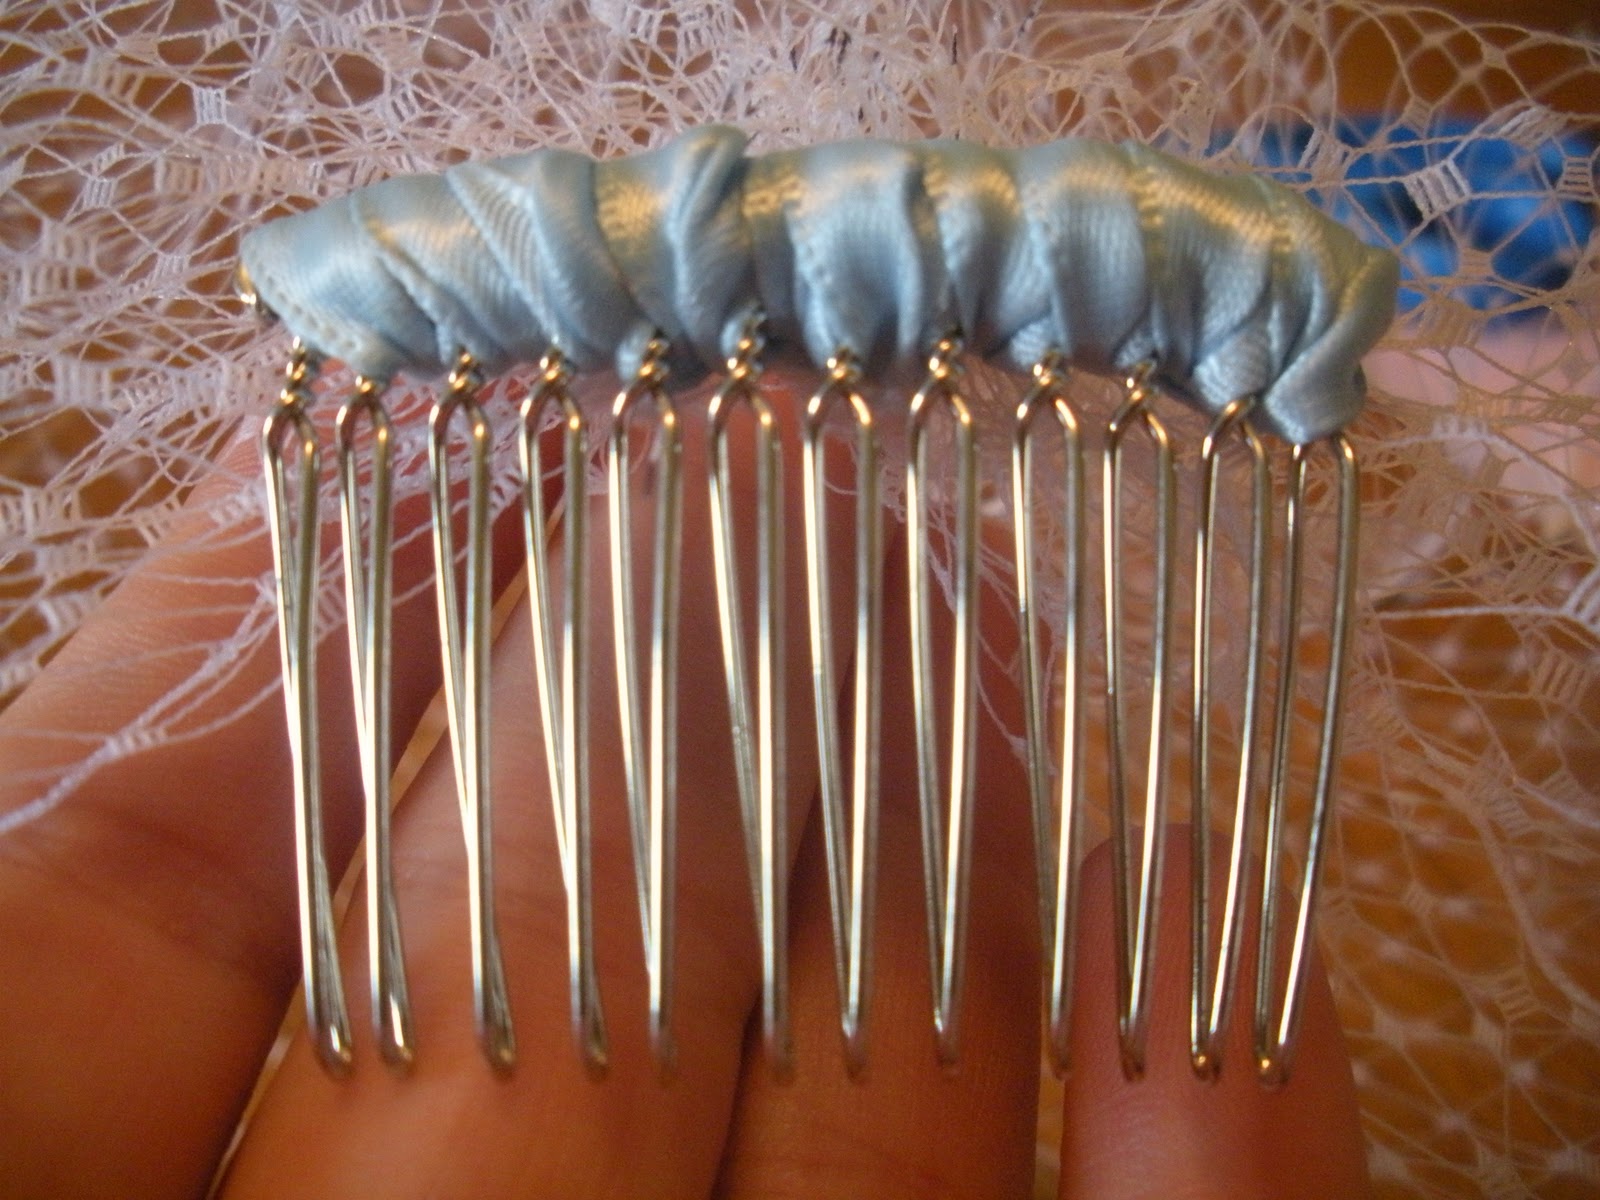
| I used blue ribbon so I would have my something blue |

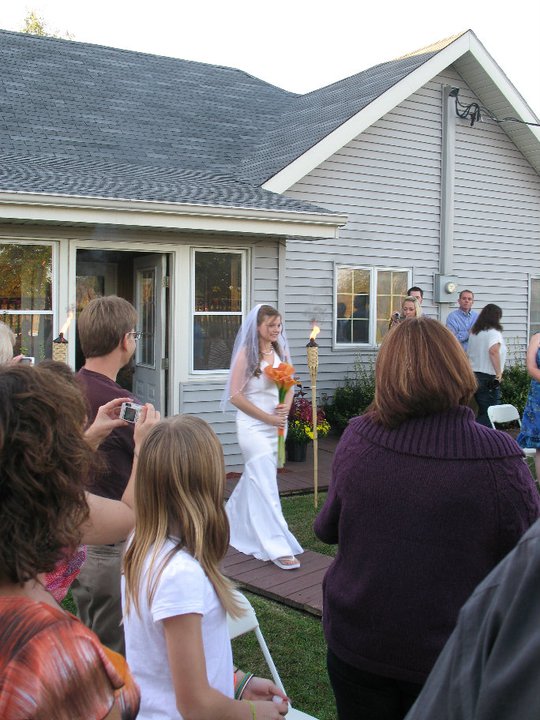
After I had pulled it together and tried it on before knotting up the thread it seems to be too big to me. I wasn't going to be happy until it was perfectly sized to my head.....ugh. I didn't think of how I could have positioned it differently to fit how I would have liked. Well, I ended up trimming 2 inches off the top and readjusting the corners to be 6 inches diagonal again and it seemed perfect........until I tried it on. It wasn't horrible but the area that ran around my chin and ears was a little snug, other than that it was fine. I felt like I was trying not to pop out of my veil! So wrong. The wedding was at Eli's Aunt Debbie's house and her daughter - also named Kayla - had gotten married in May and moved to Germany with her husband who's in the Army. Luckily, she left her veil at Debbies and said I could use it! I ended up - painfully - taking the netting off the hair comb and hot glueing a faux white/fuschia peoni to it and wore that after the ceremony. It turned out well though....and I have almost a yard of netting to do.....something with.
Does anyone have any ideas for a craft or something to do with this netting?I really can't make another veil out of it! :)
Lesson of this story.....don't take 2 inches off of the netting! AND plan ahead for things like this. Lesson learned....for sure.
♥kayla