Monday, November 22, 2010

I ♥ My Shark Steam Mop

I have been eyeing steam mops since Eli's grandma got one almost 2 years ago. I was instantly hooked....I mean, how could you not be? It cleans your floor using only water, the steam gets rid of 99.9% of germs, and it dries almost instantly! I went to Target to register for my wedding and I saw it there for $60 and thought that was a pretty good price. I didn't scan it but I ended up getting two gift cards from my bridal shower that equaled $45 so I ended up just spending about $20 on this steam mop. Great deal! Here are a few pictures of the Euro-Pro Shark Steam Mop............


All pictures found via Target

This thing is a beast. I can mop the whole downstairs area of my apartment in about 20 minutes (including sweeping beforehand) and then all I have to do for cleanup is throw the pad in the washer, so easy. I don't have to keep the dogs locked in a room for almost an hour or so while I mop and I let it dry thoroughly, I just have to keep them out of the room for a moment. So great.

Anyway, just wanted to share.....this thing is amazing.....everyone should own one. ;)

♥kayla

Wednesday, November 17, 2010

Redo: Coffee and End Table

My mother has a great set of end tables and a coffee table that was purchased from Ashley Furniture after we first moved to Columbia about 10 years ago. They seem to be sturdy enough but the stain was chipping off the top. My husbands full-time job happens to be laying hardwood floors, so he knows a bit about wood.  He offered to fix the problem for her but all she wanted us to do was the top for now, we could do the rest of it later. I thought I would share a bit of the process with you all because it was pretty interesting to see how it all turned out.

 This is the before. I didn't get a shot of the coffee table before but that was the one that had the most chips in it, but they have to match!
 It starts....
 Hand scraping all four sides....
 Coffee Table: Finished!
End Table: Finished!

All he used was a palm sander, a scraper, and some polyurethane. It created lots of dust and fumes though, wow!

They turned out really nicely (although I may have to get some shots to show you how they look dry) and mom has decided to paint the bottom a different color....maybe black or something.

Does anyone have any suggestions for the colors mom could paint the rest of the tables in? She has sage green furniture in her living room with some floral maroon and sage green pillows.

kayla

Monday, November 15, 2010

Rain Boots....and Shoes!

I have long been wanting a pair of rain boots and have never bought any....why? Lately I haven't bought too much for myself but more for others....as I am typing some onesies are in the dryer and I've got some iron-ons to apply once they are done for a friends baby shower. Thursday really made me realize that I need a pair though. Desperately.

To make a long story short I normally work in a office/service center area but Thursday I helped bring cars around to customers. To my joy it started to rain....and I was wearing slip on clogs. :( no bueno. I need rain boots. So I was talking to one of the advisors and he suggested LL Bean and showed me their webpage. I instantly saw the ones I need.....

From here.

Here are a few other great ones to check out, the links will be below.

From here.
I googled the image and I could only find this one on this blog.
Found here
Found here
 
Found here
Found via weheartit - I just had to include it because of the wallpaper!! I love those swallows/sparrows!

I hope you all enjoyed the quick look at some cute rain gear! It would probably be good for winter too, as long as you wear some thick socks!! I hope to get something soon and I will gets pics ASAP!

♥kayla

Friday, November 12, 2010

How To: Make A Birdcage Veil

And how to not mess it up. I had always wanted to wear a bircage veil for my wedding, but when I saw the cost of some of them I was blown away! I searched on etsy and found a few cheap ones but then I saw a tutorial on how to make one. I thought, easy enough, right? Eh....sort of. I should have chosen an earlier time to finish this but I finally got it finished 3 days before the wedding. Here goes the story......if you wanna read it move to the next paragraph, if not skip ahead to the pictures......

I went to JoAnns with mom and ended up buying some tulle, which is what I thought I needed for this project....silly me for not reading instructions first. About 2 weeks before the wedding I decide to really look at what I've gotten myself into and immeditaley realize that I have the wrong material!! Instead of freaking out at the first sign of something being wrong, like usual, I kept it cool and decided to see where I could find some French/Russian Netting. It is nowhere to be found in any stores!! You have to order the stuff online and, luckily, it's available on etsy. I found a wonderful seller, EmmieE who sells lots of different kinds of netting, and bought 1 yard of 18 inch French/Russian netting for $6 + $1.25 S&H. I received it a few days later a almost forgot about it I had so much going on! I ended up following this online tutorial, but made some adjustments of my own and failed :( I will explain after the pictures.

1 yard of 18 inch French/Russian Netting and the other necessary supplies: scissors, needle, thread, 1 haircomb, and ribbon (not shown).


After cutting to ensure there were no big 'lumps' in the netting once it was placed around my face.


Begining the 'netting' process


Before pulling it all together.


I used blue ribbon so I would have my something blue


After I had pulled it together and tried it on before knotting up the thread it seems to be too big to me. I wasn't going to be happy until it was perfectly sized to my head.....ugh. I didn't think of how I could have positioned it differently to fit how I would have liked. Well, I ended up trimming 2 inches off the top and readjusting the corners to be 6 inches diagonal again and it seemed perfect........until I tried it on. It wasn't horrible but the area that ran around my chin and ears was a little snug, other than that it was fine. I felt like I was trying not to pop out of my veil! So wrong. The wedding was at Eli's Aunt Debbie's house and her daughter - also named Kayla - had gotten married in May and moved to Germany with her husband who's in the Army. Luckily, she left her veil at Debbies and said I could use it! I ended up - painfully - taking the netting off the hair comb and hot glueing a faux white/fuschia peoni to it and wore that after the ceremony. It turned out well though....and I have almost a yard of netting to do.....something with.

Does anyone have any ideas for a craft or something to do with this netting?I really can't make another veil out of it! :)

Lesson of this story.....don't take 2 inches off of the netting! AND plan ahead for things like this. Lesson learned....for sure.
kayla

Thursday, November 11, 2010

Buttons!

This is - unfortunately - not to inform anyone of buttons linking to my blog :), but just regular old buttons. I needed to pick up some white buttons for these napkin holders I am making right now (pics later) and have been meaning to keep an eye out for a set of matching buttons. Well, I went to Michael's today to pick up some onesies for a friends baby shower (with my 50% off coupon!) and decided to do a little browsing....I knew they would have buttons! I ended up buying a decently sized bag full of random buttons for $5 and found some great finds! There were quite a few name brand buttons ranging from Abercrombie & Fitch to Baby Gap to DKNY! There was even one with a chili pepper on it and one with a bear (he's broken though)........I never thought I would be so excited about buttons! Well here are my finds.....I have separated them all by color now and have placed them in jars....and upon seeing how almost empty they looked I feel I need to go buy 2 or 3 more bags! This could be another collection in the making!


Sorry about the horrendous lighting, I didn't get home until 6:30 and it was unusually dark!! Damn you Daylight Savings Time!!!! lol, just kidding! maybe.

Does anyone else collect buttons? OR What do you all collect? Do share! I would like to know :)

Can't wait to hear about some collcetions!

♥kayla

Wednesday, November 10, 2010

Felt Super Sale!!

So I think that the crafting gods have been sending me some not-so-subtle hints that I need to start crafting some more. First off, two nights ago when I got home from work I had a mailer from JoAnns giving me lots (and I mean lots) of ideas for this upcoming holiday season and lots of coupons as well. I also noticed right away that they are having a sale on 9x12 inch sheets of felt.....they are normally .29 cents a piece and they have them on sale for 4 for $1! Now I was definitely excited but imagine my excitement when I opened the mailer for Michaels this week (which was left in the breakroom this morning from someones newspaper....and I'm the only crafty one in the building so I pilfered it)....they have them on sale for 5 for $1!!! (Cheap thrills people, they're great!) So, I did some shopping/craft therapy on my lunch break yesterday and got 20 sheets of felt!! I mainly wanted to get some more to replace what I have been using for one of the projects I have been working on for a while......they just don't seem to have that certain color at JoAnns that I need for my racc.......ummmm.....I'll leave it at that :) That project is sort of a secret......at least from the world of bloggers until I can get things down.

Anyway, this post is really just to inform any and all bloggers looking for cheap felt, who have a Michaels nearby, to go to Michaels before Sunday! I went today and they had already run out of a few colors so get to moving people! I did happen to pick up some festive holiday colors as well so maybe I can make something cute and Christmasy soon.


Pretty.
Anyways, happy shopping all!

♥kayla

Monday, November 8, 2010

Since I'm Going To Be An Aunt....

..........I have so many ideas that are flowing through me! I have already ventured into onesie making and plushie making and that is mostly what my thoughts consist of so this should be fairly do-able. I have found some cute iron-on transfers for baby onesies and for pregnant women and I would like to attempt to make my own sometime. I have also seen some really cool repurpose tutorials for childrens clothes and would like to try that as well! I have got baby fever so thank goodness for my sister having her baby, lol...This way I can get my baby time in before we try for a little one :)  which is going to be a while.

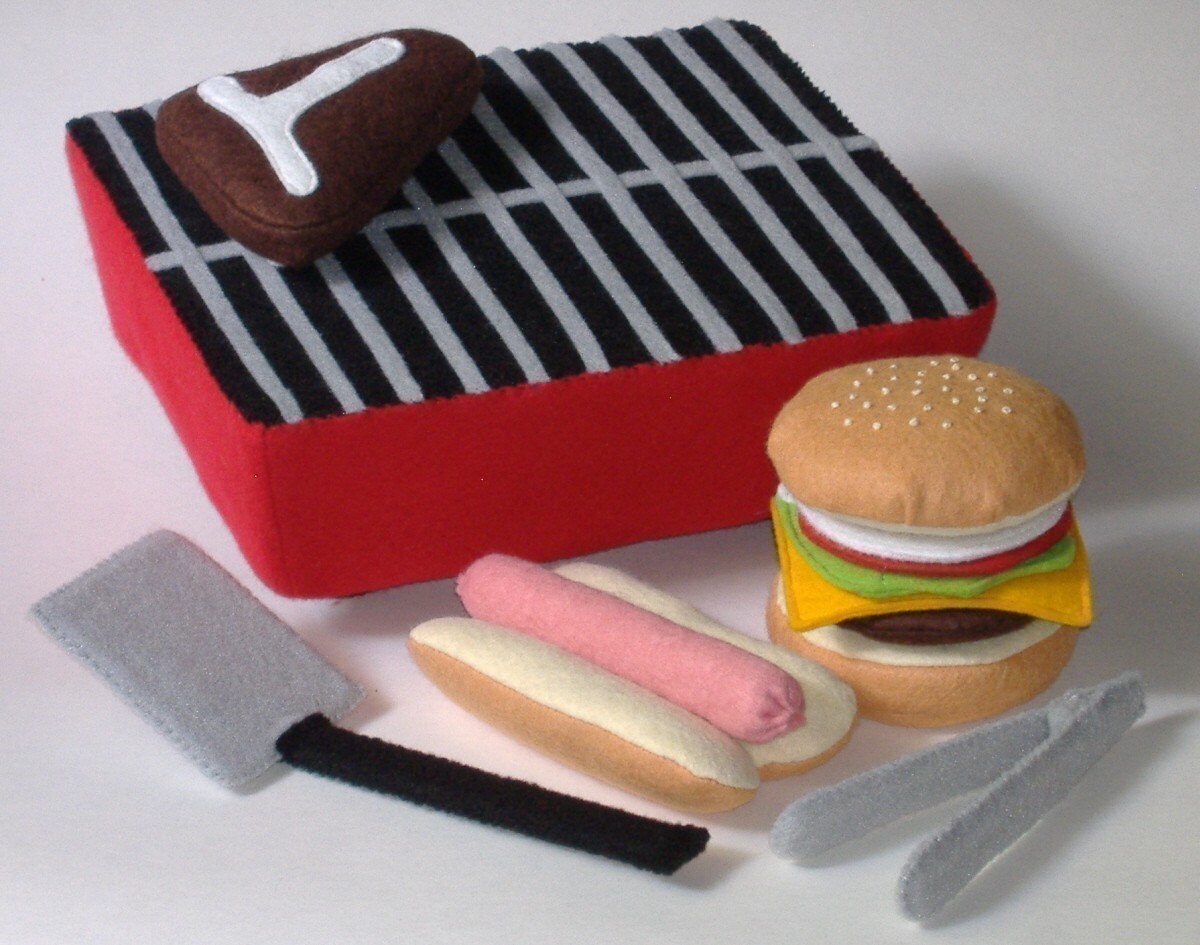
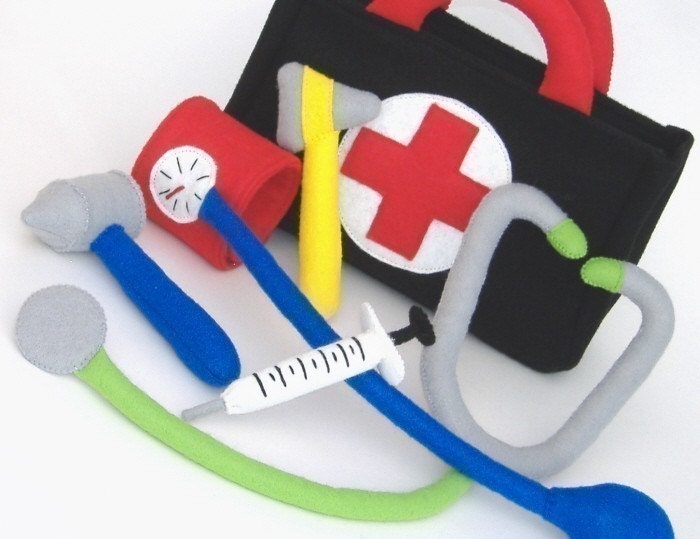
I have also been looking into toys to make for children when they're older.....I know I would have loved play sets made of felt. I have had some really great inspiration from the few photos below.


Found Here

Foung Here

Found Here

The above three pictures are all pay-to-downloads available on etsy if you click on the links below. The next few are pieces I made but I am considering again, but larger :)


I really need to work on my photography skills. This should hopefully prove to be worthy of photographing once we figure out what she is having and I get things going! Anyway, those toys are more for older children so I have some time for those.

So.......does anyone have any ideas or suggestions for cute kids toys? I would love to hear all your ideas and maybe I can even try a few! I have a few tricks up my sleeve! :)

♥kayla

I have also been working on a few things I may or may not use but I will definitely shoot and post when they're done!


Wednesday, November 3, 2010

Chocolate Peanut Butter Cake

I just realized that I have never featured the cake that got me into cake decorating. It is a really easy cake to bake and put together....I mean, if I can do it on the first go-round then anyone can! I was searching for a good cake to make for my then boyfriend, now husband, and since he loves Reeses I searched for chocolate peanut butter cakes. Here it is, the Chocolate Peanut Butter Cake. (Link goes to Smitten Kitchen where once I saw this, I explored a little and fell in love with her blog!)

 The pictures are absolutely terrible, but this was really the first time I started taking pictures of food.....and at that point I really didn't care too much about the lighting and more about posting these pics online...I was so proud!

Three layers of cake! I froze them before icing them to make them easier to deal with and less crumbs.

The cream cheese peanut butter frosting.....yum.

All three layers of chocolatey goodness, held together with peanut butter frosting.


This is the chocolate peanut butter ganache that is poured over the top of the cake.


The  finished product. BE WARNED! This product is very rich and you will need lots of milk :)

It was a piece of cake. It doesn't look nearly as 'neat' as Deb's @ SK's does but hey, it was my first attempt. It still tasted damn good.

The recipe is avaible if you click on the link before the pictures. If you are looking for other absolutely yummy recipes just browse smittenkitchen.com and you're sure to find something you will love. Another good foodie blog is 17 and Baking, and if you don't go there to read about the food at least read her posts.....she is an amazingly talented writer!! She paints a very vivid picture!

After I first made this cake people have been demanding it....friends, family, coworkers, everyone! I have found that I liked making this cake and I actually had fun cleaning up as the cakes are baking, making the icing as the cakes chill in the freezer, and melting chocolate and peanut butter together and pouring it all over a cake. I like baking.

When I was younger my sister and I were in 4H and took a cake decorating course but never followed through with the whole thing, but we always had cake decorating supplies. We rarely made cakes after that, let alone decorated them, but I held onto those supplies. Then, last Christmas, my Aunt bought me a huge carrying case full of supplies - enough for the first Wilton cake decorating course! I signed up for four classes once a week in April and learned a lot. I posted pictures of those a while ago so if you would like to see them just click here, here, here, and here.

I hope you enjoyed reading about my first cake venture and if you decide to try it, please take pics and let me see!!

♥kayla